Delicious Chicken Pot Pie Recipe with Flaky Phyllo Pastry
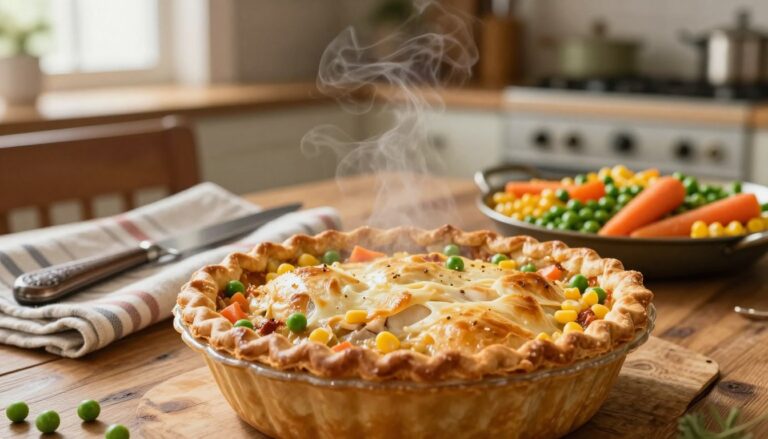
There’s a moment when you pull a golden, bubbling dish from the oven. It fills your kitchen with warmth and anticipation. That’s the magic of a homemade pot pie.
But if you’ve ever struggled with rolling out pie dough, you know the traditional route can feel overwhelming. What if you could skip that stress and still create something even more impressive?
Your chicken pot pie recipe with phyllo pastry offers exactly that. This approach trades conventional pie dough for delicate, crispy phyllo sheets. These sheets require no rolling, no chilling, and no frustration.
The result? A comfort food recipe that looks restaurant-quality while being easier to execute than you’d expect.
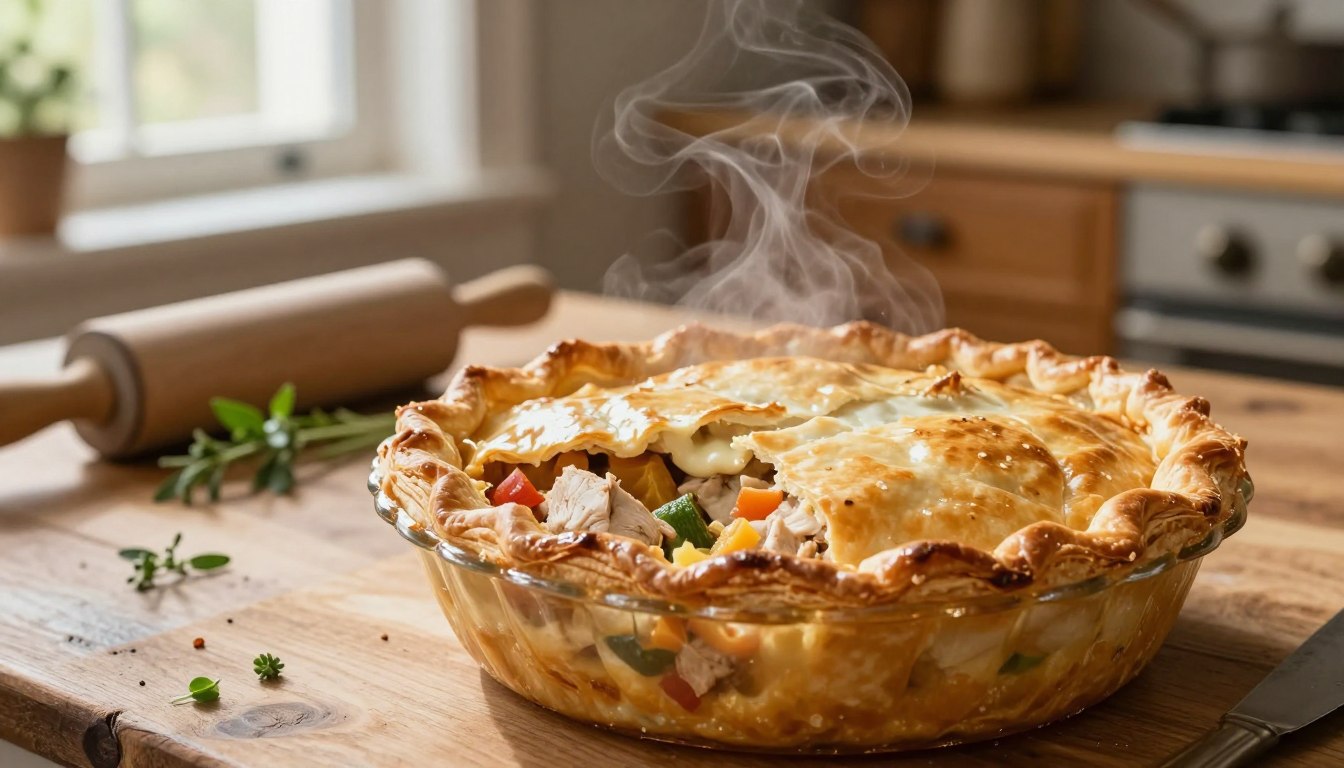
Underneath those gorgeous, scrunched phyllo layers sits a creamy, savory filling. Think tender shredded chicken mixed with leeks, carrots, celery, and peas. Wine, broth, and cream build a luscious sauce. Goat cheese and fresh thyme add sophisticated depth.
This homemade pot pie delivers serious flavor without the complicated technique.
The best part? Phyllo dough creates a lighter dish than traditional pastry. You get fewer calories, less heaviness, and a dramatically crispier texture that stays crisp. Your family gets pure comfort without the guilt.
Whether you’re planning a weeknight dinner or impressing guests, this chicken pot pie recipe with phyllo pastry becomes your secret weapon.
Key Takeaways
- Phyllo dough eliminates the need to roll out traditional pie dough, saving you time and stress
- This comfort food recipe uses scrunched phyllo sheets that create a dramatic, crispy topping without special skills
- The filling combines shredded chicken, fresh vegetables, wine, broth, cream, and goat cheese for rich flavor
- Phyllo pastry reduces calories compared to conventional pie crust while improving texture
- You can prepare your homemade pot pie ahead and freeze it for convenient meal planning
- The entire dish comes together faster than traditional chicken pot pie recipes
- Fresh thyme and quality ingredients elevate this comfort food recipe to special occasion status
Why Phyllo Dough Makes the Perfect Pot Pie Topping
Choosing phyllo dough for your chicken pot pie is a smart move. It changes your baking game. Phyllo dough, known as filo, is thin and crispy after baking with butter. It’s simpler than traditional pie dough and impresses your guests.
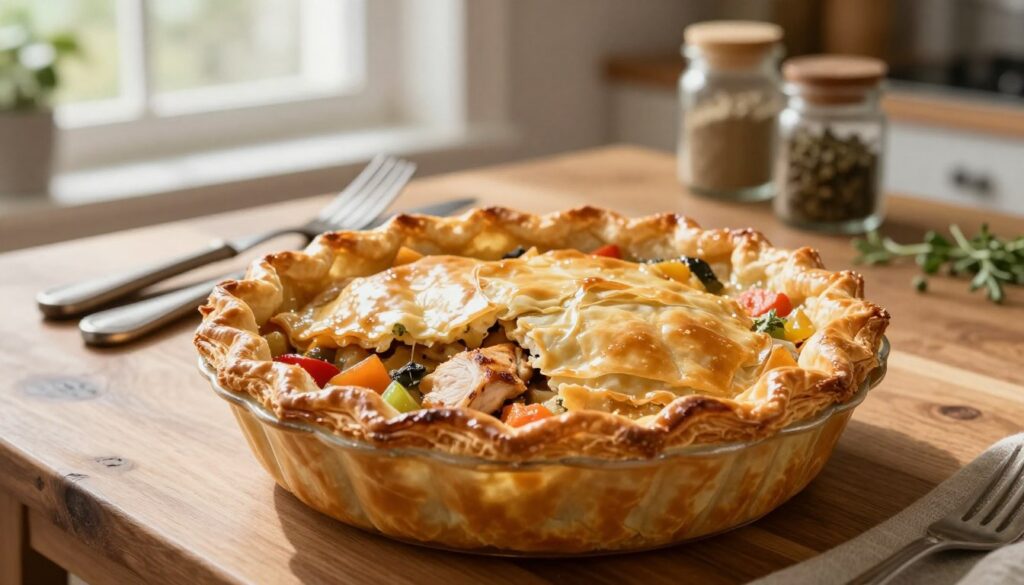
Phyllo dough chicken pot pie has many benefits. It’s easy to use, requiring no special skills or tools.
The Benefits of Using Phyllo Over Traditional Pie Crust
Traditional pie dough needs chilling and rolling, taking up a lot of time. Phyllo dough makes these steps unnecessary. Here’s what you gain:
- No chilling required—work with phyllo straight from the package
- Tears and cracks patch easily with butter
- Significantly fewer calories than butter-heavy traditional crusts
- No special rolling pins or pie-shaping skills needed
- Creates a lighter meal without sacrificing taste
Your flaky phyllo crust makes restaurant-quality pies at home. It’s easy to work with.
How Phyllo Creates a Lighter, Crispier Texture
In the oven, phyllo sheets turn into crispy, golden shards. This happens because of the steam from butter between the layers.
The crispy phyllo topping contrasts with the creamy filling. This makes the pie more exciting than a dense crust. The buttery crunch adds to the tender chicken and veggies.
“Phyllo dough transforms an ordinary pot pie into something extraordinary—light, elegant, and absolutely delicious.”
Phyllo dough makes your dinner look impressive. It’s easy to achieve professional results without advanced baking skills.
Essential Ingredients for Your Chicken Pot Pie Recipe with Phyllo Pastry
Creating a tasty chicken pot pie begins with the right ingredients. Your filling needs top-notch parts to make it a comfort food hit. Let’s look at what you’ll need for this phyllo pastry recipe.
Begin with your protein. You’ll need two boneless skinless chicken breasts (about 454g total). Or, use 3 cups of shredded rotisserie chicken or leftover turkey to save time.
Your veggies add flavor to the creamy filling. Here’s what you’ll need:
- Three cups of sliced leeks (white and light green parts only)
- One cup of diced celery
- One cup of diced carrots
- One cup of frozen peas
For a creamy texture, gather your dairy and binding ingredients. You’ll need one-third cup of all-purpose flour, heavy cream, and goat cheese. These make the filling velvety and delicious.
The liquid parts add depth to your filling. Get three-quarter cup of white wine, one 284mL can of chicken broth, and butter for cooking.
For the phyllo pastry, buy 10 sheets of thawed dough and one-half cup of melted butter. Don’t forget salt, pepper, and fresh thyme.
Preparing the Creamy Chicken and Vegetable Filling
The filling is the heart of your easy chicken pot pie. It’s where rich flavors and creamy textures come together. To make a homemade pot pie filling, you need to cook the chicken right and make a flavorful vegetable base.
Cooking and Shredding the Chicken
Begin by preparing your chicken breasts for roasting. Coat them with olive oil and season with salt and pepper. Add fresh thyme sprigs on top for extra flavor.
Place your chicken on a baking sheet and roast at 375°F for 20-25 minutes. Make sure it’s fully cooked. Use a meat thermometer to check for 165°F.
Let the chicken cool slightly before shredding. This makes it easier and safer. Use two forks to shred the meat into bite-sized pieces. You should get about 3 cups of shredded chicken.
Building Flavor with Aromatic Vegetables
Start your flavor base in a large skillet over medium-high heat. The vegetable preparation follows a specific order based on cooking times:
- Melt butter and add leeks first, cooking until tender (about 2 minutes)
- Add celery and carrots, cooking until softened (about 3 minutes)
- Sprinkle flour over the vegetables and stir until fully absorbed
This flour coating thickens your filling and prevents it from being watery. Deglaze the pan with wine to capture all the flavorful browned bits.
Add chicken broth, cream, and crumbled goat cheese to the vegetables. Season with salt, pepper, and thyme. Bring the mixture to a light boil, then stir in your shredded chicken and peas. Reduce heat to a simmer and cover for 8-10 minutes. Your homemade pot pie filling is now ready for assembly with phyllo pastry.
Working with Phyllo Dough: Tips and Techniques
Mastering phyllo dough tips can make your chicken pot pie truly special. Phyllo dough comes frozen in 454-gram boxes with 16 to 18 sheets. Keep it in a cooler as soon as you get home to avoid thawing too early. Proper storage is key to success with your phyllo pastry recipe.
Thawing phyllo correctly is crucial. Let it thaw in the fridge for 8 to 24 hours in its original package. Never thaw it at room temperature, as it can stick together and become unusable. This step helps avoid wasted ingredients and saves you from frustration.
Before starting, make sure your workspace is ready. Take the thawed phyllo out of the fridge 15 to 20 minutes before opening it. This makes the sheets easier to work with and less likely to crack. Have your melted butter, pastry brush, and damp towels ready before opening the phyllo box.
Keep unused sheets covered with two damp towels. Spray the towels lightly with water. Work fast, taking out one sheet at a time while keeping the others covered. Brush each sheet with butter from the center outwards with even strokes.
- Don’t stress about tears or cracks in the sheets
- Brush damaged spots with butter to seal them
- Overlap pieces together when needed
- Re-roll unused sheets immediately after use
Phyllo is forgiving. Baking will hide any imperfections. Store leftover phyllo by tightly resealing it in the original packaging and freezing it. Follow these tips for handling and storing phyllo to make your phyllo pastry recipe a success.
Step-by-Step Assembly Instructions
Assembling your pot pie is the final step. It combines your hard work into a stunning dish. You’ll use your hot filling and phyllo sheets to create a meal that looks like it came from a restaurant. This process is easy and fun if you know the right steps.
It involves two main parts: layering the phyllo sheets and making the textured topping. This topping is what makes the golden phyllo pastry so special.
Layering the Phyllo Sheets
First, put your hot stew in a greased 9×12-inch baking dish. The heat from the stew helps the phyllo sheets stick and crisp up from underneath.
Next, take out your thawed phyllo sheets one at a time. Cover them with a damp towel to keep them moist. Brush each sheet with melted butter, making sure to cover all edges and corners.
Here are some important steps for layering:
- Work quickly but gently with each sheet
- Keep unused phyllo covered at all times
- Brush butter to all edges and corners
- Maintain a steady rhythm to prevent sheets from becoming brittle
Creating the Signature Scrunched Topping
This step makes your golden phyllo pastry unique. After brushing butter on each sheet, scrunch it into a loose circle. The circle should be about 4 to 5 inches across.
Place these circles on top of your stew, covering it randomly. The uneven texture lets steam escape while baking.
Here are the final touches:
- Continue until your entire top is covered (typically 8-10 sheets)
- Brush remaining melted butter across all visible phyllo surfaces
- Sprinkle lightly with salt for added flavor
This scrunched method produces varied levels of crispiness, from deeply golden peaks to lighter valleys, giving your pot pie beautiful texture and visual appeal. Your golden phyllo pastry is now ready for the oven, where it will bake into a magnificent golden-brown masterpiece.
Baking Your Phyllo Topped Chicken Pot Pie to Golden Perfection
To bake your chicken pot pie perfectly, start by preheating your oven to 375°F. This heat is just right for a crispy phyllo topping without burning. It also lets the filling heat through while the phyllo turns golden.
The baking process has two phases. First, you protect your pie from over-browning:
- Tent the pie loosely with aluminum foil
- Be careful not to let the foil touch your crispy phyllo topping
- Bake covered for 15 minutes
The foil acts as a shield. It lets heat in while keeping the phyllo from browning too fast. Make sure the foil doesn’t touch your phyllo to avoid sticking and tearing.
After 15 minutes, remove the foil and bake for another 15-20 minutes. Now, your phyllo gets crispy and brown. You’ll see the filling bubble and steam rise, showing it’s cooking well.
Watch for these signs of doneness:
- Golden phyllo with deep amber peaks
- Filling bubbling visibly around edges
- Steam rising from underneath the pastry
Let your pie rest for 10 minutes before serving. This helps the filling set and lets the phyllo crisp up more. If it browns too fast, tent it again or lower the temperature to 350°F and bake for 30-40 minutes.
Make-Ahead and Storage Options
Planning meals ahead saves time and stress. Your chicken pot pie with phyllo topping is perfect for this. It’s great for meal planning and entertaining.
Preparing the Pot Pie in Advance
You can prepare your pot pie up to 24 hours before baking. Start by making the creamy filling. Then, put it in a baking dish.
Next, layer your phyllo sheets on top. Create your signature scrunched topping. Cover the dish tightly with plastic wrap, making sure the covering doesn’t touch the delicate phyllo sheets.
When you’re ready to bake, add 15 minutes to your standard baking time. This extra time helps the filling heat through and the phyllo get crispy. You may want to bring the dish out for 20-30 minutes before baking for more even cooking results.
Freezing and Reheating Instructions
You can freeze your chicken pot pie unbaked for up to three months. Wrap your assembled pie tightly with plastic wrap, then cover it with aluminum foil to prevent freezer burn. Always label your dish with the date and reheating instructions.
When you’re ready to use your frozen pot pie, thaw it overnight in your refrigerator. Bake it as directed, adding 10-12 minutes to account for the previous freezing. For leftovers, store them in a covered glass dish for 3-4 days. Reheat in a low oven for 20 minutes to keep the phyllo crispy, or use your microwave for faster results.
- Refrigerate assembled pot pie up to 24 hours before baking
- Add 15 minutes to baking time for cold pies
- Freeze unbaked pot pie up to 3 months
- Thaw frozen pie overnight in refrigerator
- Add 10-12 minutes to baking time for previously frozen pies
- Store leftovers in covered glass containers
- Refrigerate cooked leftovers for 3-4 days
Variations and Substitutions to Customize Your Pot Pie
Creating an easy chicken pot pie lets you explore many customization options. You can turn this classic dish into something that fits your taste and dietary needs. This flexibility keeps the comforting, satisfying meal you love.
Begin with protein swaps that fit well in this recipe. Try using 3 cups of shredded leftover cooked turkey for a turkey pot pie. A rotisserie chicken from your local store saves you about 30 minutes of cooking and shredding time. These protein swaps are easy to use without changing your cooking method.
Vegetables add great variety to your pot pie. Here are some popular choices:
- Fresh broccoli florets for color and nutrition
- Mushrooms sautéed separately to remove excess moisture
- Corn for natural sweetness
- Peas for traditional flavor
Liquid substitutions let you adjust your pot pie’s taste. Use chicken broth instead of white wine for an alcohol-free version. Vegetable broth makes the taste lighter. Dry white wines like sauvignon blanc, pinot grigio, and chardonnay add complexity when you want wine’s flavor.
Dairy changes can alter the richness and texture. Use light cream or milk instead of heavy cream, adding 1 tablespoon extra flour for thickening. Sharp cheddar or gruyere cheese can replace traditional options, keeping it creamy.
Change the filling’s consistency by reducing stock to 1.5 cups for a thicker filling. Serve in individual ramekins for a fancy look. Or, scale the recipe up or down to fit your household size.
Conclusion
Your chicken pot pie recipe with phyllo pastry is a journey of simple techniques leading to impressive results. It skips the hard part of rolling out pastry. Instead, you work with phyllo sheets that are easy to handle.
The flaky phyllo crust comes out golden and crispy from the oven. Each bite is a delight, offering the comfort of a classic pot pie without the hassle.
This recipe is flexible and looks great. You can change up the proteins, veggies, and seasonings to your liking. The scrunched phyllo topping makes it look like a fancy restaurant dish.
Your family will be impressed by what you make. The dish has a lighter, crispier texture that updates the classic recipe. It shows that you can make elegant food without being a pro.
It’s also great for meal prep. You can freeze it or make the filling ahead of time. This makes it easy to serve homemade comfort food whenever you want.
Start cooking with confidence, knowing phyllo is easy to work with. Get your ingredients ready and preheat your oven. The aroma of a golden, bubbling pot pie will fill your home. It’s a recipe that will become a family favorite.
If you’re looking for more ideas, check out our chicken recipes.